

Temporary & Portable Solar Lighting

10 Solar Path Lights Buying Tips for Buyers

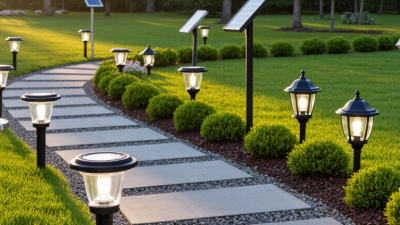
Solar Path Lights can make a walkway easier to see and give a garden a welcoming glow, but choosing them takes more than comparing prices. Their performance depends on sunlight, placement, battery capacity, and build quality. A light that shines brightly in a product photo may look faint beneath a porch roof or under dense branches. Small details matter.

So does the path itself. A narrow stone walkway may need fewer, softer lights than a long driveway edge, while steps call for clear, even illumination. Look beyond claims like “all-night lighting.” Check the stated runtime, charging conditions, materials, and warranty, and remember that cloudy weather can reduce charging. No single model suits every yard.

This guide covers ten practical buying tips for comparing Solar Path Lights. It considers brightness and color temperature, solar panel design, battery performance, weather resistance, installation, spacing, and maintenance. You’ll also see why adjustable panels and replaceable components can matter after the first season. Specifications help, but they do not tell the whole story. Reading them carefully—and checking how much direct sun your chosen spots actually receive—can prevent a disappointing purchase. A little trial and error may still be needed. That’s normal. The goal is not the brightest light on the shelf, but dependable illumination that fits your path, climate, and budget.
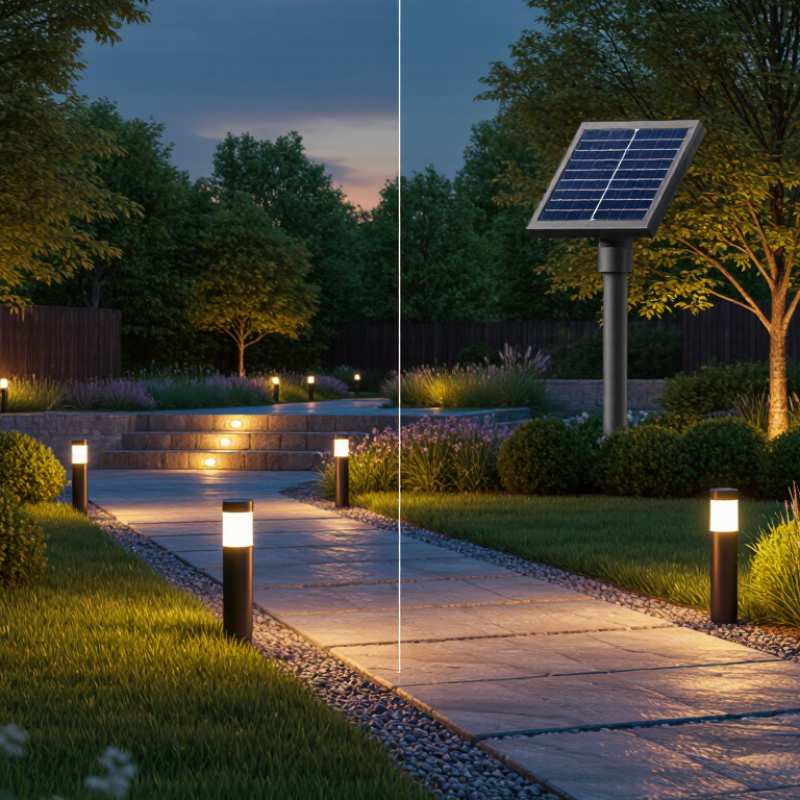
10 Solar Path Lights Buying Tips for Buyers

Understand How Solar Path Lights Convert Sunlight Into Light

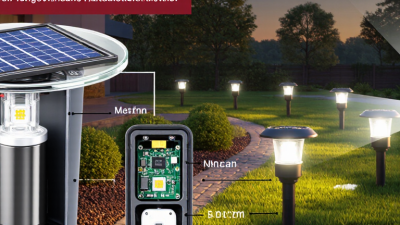
A solar path light collects energy through a photovoltaic cell, usually a small panel on its top. Sunlight’s photons release electrons inside the cell, producing direct-current electricity. A charge controller regulates that current and stores energy in a rechargeable battery. After dusk, a light sensor switches on the LED, which draws power from the battery. Simple, but not lossless.

Panel exposure matters. Leaves, dust, and a fence’s afternoon shadow can reduce charging, while short winter days leave less sunlight to store. Check battery capacity and stated runtime alongside brightness; a high lumen figure alone does not tell you how long the light will stay bright.

The U.S. Department of Energy says LEDs use at least 75% less energy than incandescent lighting, helping explain why they suit small stored-energy systems. NREL’s 2012 review of nearly 2,000 photovoltaic degradation rates found a median decline of about 0.5% per year. That is broad system-level evidence, not a promise about a small garden fixture.

Not a guarantee. A cloudy-day test can be humbling, and product claims rarely reflect every yard’s shade, weather, or placement.

Choose Brightness and Color Temperature for Your Path

Brightness should make a path easy to follow without turning the garden into a runway. Solar path lights often list output in lumens, but the number alone does not show how evenly light reaches the ground. For a narrow walkway, modest output with well-directed light can work better than a harsh, bright fixture. Too much glare can hide edges rather than reveal them. A little restraint helps.

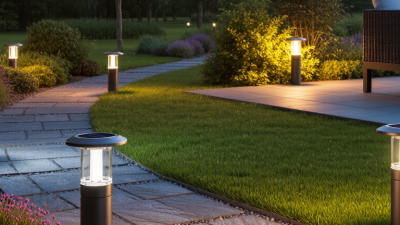
Color temperature changes the mood and visibility. Warm white, around 2700K to 3000K, gives stone paths and planting beds a softer, welcoming look. Cooler white can make steps and borders appear clearer, but may feel stark beside lawns or flowers. One easy mistake is choosing each light separately; mismatched tones can make a short path look oddly patchy. Compare the color descriptions before buying, and remember that labels may not look identical across products. If possible, test one light after dark. Check the beam on your actual paving, not just in a product photo. Cloudy weather and shaded panels can also reduce output, so leave room for real-world variation.

Compare Solar Panels, Batteries, and Expected Runtime

Solar path lights depend on a close match between panel, battery, and brightness. A larger panel can collect more energy, but only when sunlight reaches it. Check whether the panel is built into the fixture or connected by a short cable. A separate panel can be easier to position beside a shaded walkway. Small detail, real difference.

Battery capacity affects how much stored energy is available after sunset. Look for the capacity in milliamp-hours, or mAh, and note the battery type and whether it can be replaced. Capacity alone does not guarantee long runtime: brighter LEDs draw more power, and cold weather can reduce battery performance. A high number on the package may look reassuring, but it is only part of the picture.

Treat advertised runtime as an estimate, not a promise. It often assumes a fully charged battery and favorable conditions. A north-facing yard, tree shade, cloudy days, or a long winter night can shorten operation. If possible, compare runtime at a stated brightness level; “up to” figures without that detail are harder to judge. Watch the lights over several evenings after installation. If they fade early, try moving the panel before deciding the battery is faulty. That small test can reveal a placement problem.

Check Weather Resistance, Materials, and Installation Needs

Solar path lights face rain, dust, temperature swings, and occasional knocks from lawn equipment. Check the stated weather-resistance rating, not just the word “waterproof.” An IP rating can help you compare protection, but placement still matters. Avoid spots where water pools, and inspect the housing seams and battery cover for snug seals. Materials affect durability, too. Powder-coated metal can resist corrosion, while sturdy plastic is lighter and less prone to denting. Glass lenses may look crisp, but they can crack if struck by a stone.

Tips: Match the light to your yard. For a damp walkway, prioritize sealed housings and corrosion-resistant parts. Press a stake into the soil before installation; forcing it into hard ground can damage the fixture. Check the manual for any specific care instructions.

Installation needs are easy to overlook. Most solar lights need several hours of direct sun, so watch the spot across a full day—not just at noon. A tree that looks harmless in spring may cast deeper shade by summer. Space fixtures to create a clear route without crowding the path, and leave room to remove each light for cleaning or battery checks. I would not assume one layout works everywhere; a small test placement can reveal dark patches before you install the whole set.

Assess Light Coverage, Maintenance, and Overall Value

Coverage starts with the path, not the product photo. Measure the distance between lights and check the beam angle; a bright spot can leave the next stretch dim. Note nearby trees, walls, and winter shade, because limited daytime sun can shorten evening runtime. For local sunlight patterns, buyers can consult NREL’s National Solar Radiation Database (NSRDB). Compare its location-specific solar data with the actual hours of sun in your yard.

Maintenance affects value. Look for replaceable batteries, weather-resistant housings, and accessible solar panels that are easy to wipe clean. The U.S. Department of Energy reports that LEDs use at least 75% less energy and can last up to 25 times longer than incandescent lighting. That comparison concerns the light source, not the whole fixture; a small battery may fail sooner. Check its replacement cost before judging long-term savings. A low-priced set may still suit a short walkway, but not every yard.

Tip: Test one light in the intended spot for several nights before buying a full set. Check brightness near dusk and again late in the evening. Record the spacing that works. Real conditions can disappoint, and specifications do not capture every shadow.

10 Solar Path Lights Buying Tips for Buyers – Assess Light Coverage, Maintenance, and Overall Value

# Buying Factor What to Assess Practical Buying Check Why It Matters
1 Light coverage Check beam angle, brightness, and the area each light is intended to illuminate. Treat stated coverage as an estimate; compare it with the width of your path and the spacing shown in the product specifications. A wide beam can cover more ground, while a narrow beam may leave gaps between fixtures.
2 Brightness and purpose Look for the lumen rating and decide whether you need gentle orientation lighting or brighter task lighting. Compare lumen figures among products, and remember that optics and installation height affect perceived brightness. Solar path lights are generally intended to mark routes and add visibility, not replace strong security or flood lighting.
3 Spacing and layout Consider fixture spacing, path bends, steps, and any areas where people need extra visibility. Use the maker’s spacing guidance as a starting point, then allow for tighter placement around corners or changes in level. A well-planned layout can reduce dark gaps without buying more lights than the path requires.
4 Sun exposure Check whether the solar panel will receive direct sunlight or be shaded by trees, buildings, or fences. Favor a position with several hours of unobstructed daylight; performance varies with season, weather, and location. Insufficient charging is a common reason for shorter nighttime run time and dimmer output.
5 Nighttime run time Review the stated operating time and the conditions under which that figure was measured. Check whether the specification assumes a full charge, a particular brightness mode, or favorable sunlight. Cloudy days, shorter winter daylight, and aging batteries can reduce actual run time.
6 Weather resistance Look for an IP rating and instructions about rain, dust, standing water, and temperature limits. For example, IP65-rated enclosures are tested for dust protection and water jets, but an IP rating alone does not establish suitability for immersion. The right protection level can help the light withstand typical outdoor exposure; installation conditions still matter.
7 Battery type and replacement Check the battery type, capacity if listed, replacement instructions, and whether the battery is user-replaceable. Confirm that compatible replacement batteries are available and follow the product’s specified voltage and chemistry. A replaceable battery can extend the useful life of a fixture without replacing the entire light.
8 Materials and construction Inspect the housing, lens, ground stake, and panel covering for materials suited to your climate and soil. Look for sturdy joints and a stake that can be installed without forcing it into compacted or rocky ground. Robust construction can reduce breakage from routine installation, lawn care, and outdoor exposure.
9 Maintenance needs Consider access to the solar panel, ease of cleaning, and whether parts can be serviced or replaced. Plan to remove dirt and debris from panels periodically, and keep nearby plants from casting new shade. Routine cleaning supports charging; simple access makes upkeep less time-consuming.
10 Overall value and warranty Compare set price, light count, expected service life, replacement-part availability, and warranty coverage. Read the warranty terms for duration, exclusions, and the process for claims; compare cost per usable light, not just pack price. A lower upfront price may not be the best value if batteries or fixtures are difficult to replace.
(214) 838-7010