


An explosion-proof LED floodlight is not simply a bright fixture in a rugged housing. Its suitability depends on the hazardous-area classification, the atmosphere, and the conditions at the installation site. A mismatch can leave a work area poorly lit or create an avoidable safety concern. Small details matter: the temperature rating on the nameplate, the cable entry, and the dust or moisture protection.
No verifiable expert quotation or source was supplied for this brief, so I won’t invent a specialist’s name or attribute made-up words to one. That matters. Trust starts with evidence, not impressive-sounding credentials. This guide instead focuses on checks buyers can verify with product documentation and qualified technical advice.
The ten tips ahead help compare certification, light output, beam angle, color temperature, housing material, and maintenance needs. Picture a loading bay with high ceilings, airborne dust, and narrow aisles. A broad beam may brighten the floor but leave equipment faces in shadow. A fixture’s lumen figure alone cannot show that. Check the photometric data, operating-temperature range, and installation requirements together. Then compare them with the actual site conditions. Take your time. Even experienced buyers can miss a small specification. The right explosion-proof led floodlight should fit its classified area, deliver useful illumination, and remain supportable throughout its service life.
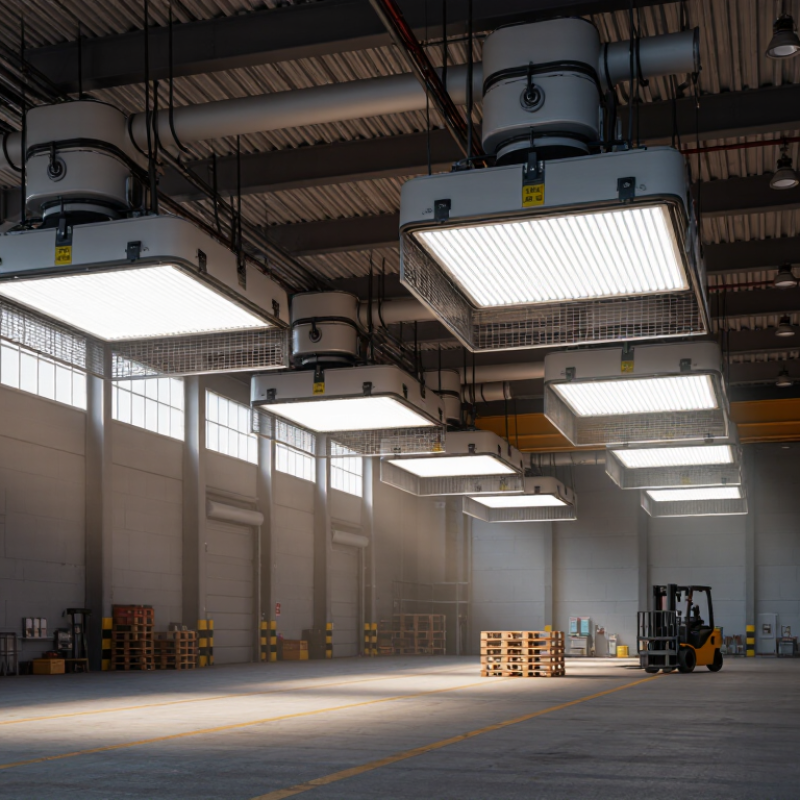
Identify what can ignite before comparing floodlight specifications. Is the atmosphere exposed to flammable gas, vapor, or combustible dust? Map where it may occur and how often. IEC 60079-10-1 and IEC 60079-10-2 provide frameworks for classifying gas and dust hazardous areas. Use the site’s documented classification, not a guess based on nearby equipment. Then check the required equipment protection level and temperature class against the substances present. Small details matter.
Operating conditions can change the selection. Record ambient temperature, humidity, washdown, corrosive chemicals, vibration, and dust buildup. Note whether the light sits near a hot process, under a roof, or where dust settles on its lens.
The U.S. Chemical Safety Board’s 2006 Combustible Dust Hazard Study documented 281 incidents in the United States from 1980 to 2005, with 119 deaths and 718 injuries. This is not a floodlight study, but it shows why dust hazards deserve careful attention.
Compare actual shift conditions with the equipment’s marked operating limits, and verify installation requirements with qualified site personnel. A drawing may miss a dusty corner. Walk the area, ask operators what changes during cleaning or startup, and revise the assessment when conditions differ.
Before comparing beam angles or wattage, verify the floodlight’s hazardous-area certificate. Match the certificate to the exact model, including suffixes and wiring options. Confirm the gas or dust group, zone or division, temperature class, and permitted ambient-temperature range. A housing that looks rugged may still be unsuitable for the site. Check the nameplate. Compare it with the installation documents, not just the sales sheet.
Keep the paperwork. IECEx certification records and the applicable regional approval should identify the equipment’s protection concept and limits. For North American installations, check the relevant Class and Division marking; IECEx or ATEX documentation alone may not meet local requirements. Also verify the ingress rating. IEC 60529 defines IP6X as dust-tight and IPX6 as protection against powerful water jets. Those ratings describe dust and water entry, not ignition protection. That distinction is easy to miss. On a dusty loading bay, a high IP rating helps with cleanup, but it cannot replace the required hazardous-location certification. Have a qualified electrical professional confirm the marking against the site classification. I would double-check this step even when the supplier’s paperwork appears complete.
Brightness should match the task, mounting height, and surface reflectance—not just the fixture’s wattage. Check the delivered lumens and the target illuminance at floor level. A bright fitting can still leave dark patches if it is mounted high or aimed poorly. Use a lighting layout, then verify the result with a lux meter after installation. Small adjustments can matter.
Beam angle controls how light spreads. A narrow beam can reach a distant work area, but may create harsh bright spots. A wider beam covers more floor, though overlapping fixtures may be needed for even light. There is no perfect angle for every site. For example, compare 60-degree and 90-degree distributions against the mounting height and area shape before choosing.
Color temperature affects how surfaces and hazards appear. Around 4000K often gives a balanced, neutral look; cooler light can make details seem sharper, but may feel harsh in reflective spaces. Check the actual work conditions, including dust, glare, and task colors. Don’t choose by appearance alone. Confirm that the complete luminaire is rated for the intended hazardous location, and reconsider the layout if workers report eye strain.
Construction is the first clue to a floodlight’s real durability. Inspect the housing, lens, fasteners, and cable entries for robust materials and secure seals. Check that its hazardous-location certification matches the specific gas or dust group and temperature class at the installation site. A sealed enclosure alone does not establish explosion protection. Ask for the certificate and installation limits, not just a product-page claim.
Heat needs equal scrutiny. Fins should be clear of walls and grime, with enough airflow around the fixture; trapped heat can shorten component life. The U.S. Department of Energy’s “LED Luminaire Lifetime: Recommendations for Testing and Reporting” explains that LM-80/TM-21 data provides projected lumen maintenance, not a guaranteed service life. TM-21 projections are limited to a multiple of the tested period. Treat a long-life figure as an estimate, especially in hot, enclosed installations. It is easy to overlook that detail.
Environmental ratings matter, too. Match ingress protection to expected dust, washdown, rain, and condensation, then examine corrosion-resistant finishes and gasket quality. Salt-laden air can attack small fasteners first. Check the stated ambient-temperature range and verify that the fixture’s surface-temperature rating remains suitable under actual operating conditions. A rating on paper may not reflect a blocked heat sink or a damaged seal. These details deserve a site check.
| Tip | Evaluation Area | What to Check | Practical Selection Guidance |
|---|---|---|---|
| 1 | Hazardous-area certification | Confirm that the complete luminaire is certified for the intended hazardous location, not just that individual components are approved. | Check the certificate, product marking, applicable protection concept, and local requirements. ATEX, IECEx, and North American approvals are distinct systems and should not be treated as interchangeable. |
| 2 | Zone and material group | Match the luminaire’s marking to the site’s gas or dust classification, such as gas Zones 1 or 2 and dust Zones 21 or 22. | Verify the applicable gas or dust group against the hazardous-area classification documentation. A product suitable for one group or zone is not automatically suitable for another. |
| 3 | Temperature class and surface temperature | Check the marked temperature class or maximum surface temperature and compare it with the ignition-temperature limits of substances at the site. | For gas applications, common temperature-class limits include T4 at 135°C and T6 at 85°C. Confirm the required limit for the actual hazard and operating conditions. |
| 4 | Enclosure construction | Inspect the housing, joints, fasteners, glass or lens, and protective guard for robust construction and compatibility with the certified design. | Choose materials suited to the installation environment, such as corrosion-resistant metals or appropriately rated non-metallic components. Do not modify certified enclosures or replace parts with unapproved alternatives. |
| 5 | Heat control | Review heat-sink design, thermal paths, driver temperature limits, and rated ambient-temperature range. | Confirm that the stated temperature performance applies at the expected ambient temperature and installation orientation. Keep cooling surfaces clear and follow the manufacturer’s mounting and spacing instructions. |
| 6 | Ingress and impact protection | Check the IP rating for resistance to dust and water, plus the IK rating where mechanical impact is a concern. | For exposed or washdown locations, an IP66 rating may be appropriate, but verify the actual cleaning method and site conditions. IP and IK ratings do not replace hazardous-area certification. |
| 7 | Corrosion and chemical resistance | Assess exposure to salt spray, moisture, industrial chemicals, and corrosive atmospheres; check coatings, seals, and exposed hardware. | Ask for material and coating specifications relevant to the site. A product’s corrosion suitability depends on the specific chemicals, concentration, temperature, and exposure duration. |
| 8 | Cable entries and installation | Verify that cable glands, stopping plugs, conduit entries, and thread types are compatible with the luminaire certification and site wiring system. | Use correctly certified accessories with the required protection type and ingress rating. Installation and sealing should be performed according to the product instructions and applicable electrical codes. |
| 9 | Light output and beam distribution | Compare delivered lumens, beam angle, mounting height, glare, and required illuminance for the task area. | Use photometric data or a lighting calculation to confirm coverage. Higher wattage alone does not guarantee better illumination or fewer dark spots. |
| 10 | Serviceability and documentation | Review the operating instructions, inspection requirements, spare-part policy, warranty terms, and availability of certificates and technical data. | Plan maintenance without opening or repairing protected enclosures in ways that compromise certification. Keep inspection records and follow local hazardous-area maintenance procedures. |
Choosing an explosion-proof LED floodlight involves more than comparing brightness and purchase prices. Start with the installation environment: note mounting height, available power, cable entries, and exposure to dust, moisture, or corrosive air. Confirm the fixture’s hazardous-area rating matches the site classification, and have a qualified professional review the selection. A small mismatch matters.
Tips: Sketch the mounting points and cable routes before requesting quotes. Ask whether existing brackets can be reused, and include access equipment in the installation estimate. For maintenance, check how lenses, seals, and electrical connections will be inspected. A lens that collects fine dust may need frequent cleaning, reducing light output between service visits.
Compare total ownership costs over the expected service life, not just the invoice. Include installation labor, energy use, replacement parts, downtime, and disposal. A higher initial price may be worthwhile if the fixture lasts longer and needs fewer service visits, but verify those assumptions against warranty terms and operating conditions. Keep the figures realistic. Estimates can miss unexpected access costs, so leave room for uncertainty.
USA / Americas
1507 Capital Ave, Suite 102
Plano, TX 75074
+1 (214) 838-7010
8:00am – 5:00pm (GMT-6)
Australia / Asia Pacific
503 Cross Keys Rd,
Cavan SA 5094
+61 8 7200 3909
9:00am – 5:00pm (ACDST)
© 2025 Green Frog Systems. | Privacy Policy | Terms & Conditions


