


Temporary & Portable Solar Lighting
10 Solar LED Lights Buying Tips for Global Buyers
Choosing Solar Led Lights for international projects requires more than comparing prices and brightness. Product quality can vary sharply between suppliers, regions, and application environments. A path light that performs well in mild weather may fail during a cloudy winter or a tropical rainy season. Practical buying decisions should consider illumination, battery capacity, solar panel efficiency, weather protection, certifications, and after-sales support.
These ten buying tips are designed for distributors, contractors, property managers, and retail buyers. They focus on details that are easy to overlook, such as charging time, operating hours, lumen output, motion sensors, and replacement parts. An IP rating can indicate protection against dust and water, but it does not guarantee perfect performance in every climate. Ask suppliers for test reports, clear specifications, sample units, and warranty terms before placing a large order. Small evidence matters.
Test before scaling.
A useful evaluation should imitate real conditions. Place samples outdoors for several nights, including cloudy periods, then inspect brightness, charging behavior, housing quality, and installation stability. Supplier claims should be checked against measurable performance, not attractive photographs. Even experienced buyers can misjudge a product when they focus only on unit cost. I have found that lower prices may create higher expenses through returns, weak batteries, or difficult maintenance. That assumption also needs review, because premium pricing alone never proves reliability. Careful comparison supports safer purchasing, consistent customer satisfaction, and better long-term value across global markets.
Define Your Solar LED Lighting Needs and Installation Conditions
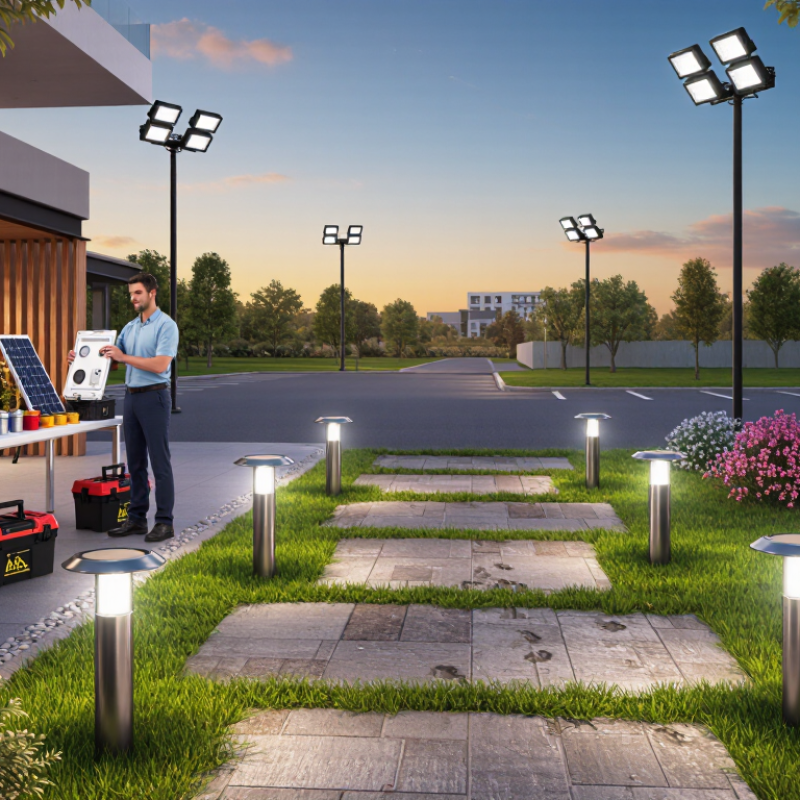
Before choosing a solar LED fixture, define what it must illuminate and when. A driveway needs broad, even coverage; a gate may need a focused beam triggered by movement. Measure the mounting height, distance to the target, and hours of darkness. Note nearby walls, trees, and roof edges. Even partial shade can reduce panel charging, so check the panel’s actual sun exposure across the day, not just at noon. Small details matter.
The World Bank and ESMAP’s Global Solar Atlas provides location-based solar irradiation and photovoltaic potential data. Use it to assess local conditions rather than relying on a national average. The IEA PVPS Snapshot of Global PV Markets 2024 reports that global installed solar PV capacity exceeded 1.6 terawatts in 2023. That scale shows how widely solar is deployed, but it does not predict a light’s runtime at your site. Battery capacity, cloudy spells, panel angle, and operating mode still matter. One planning point is easy to miss: advertised runtime may assume ideal charging conditions.
Tips: Photograph the installation spot in morning, midday, and late afternoon. Record required nightly hours and expected cloudy days. For a shaded path, consider a separately positioned panel or a non-solar option; convenience is not the only measure.
| # | Buying Consideration | What to Define | Practical Guidance | Installation Check |
|---|---|---|---|---|
| 1 | Lighting purpose | Identify the area and task: pathway guidance, security lighting, parking, or general outdoor illumination. | Choose light output and distribution for the task rather than comparing wattage alone. LED efficacy and optics vary between products. | Mark the area to be lit and note nearby doors, windows, roads, and places where glare should be avoided. |
| 2 | Required brightness | Estimate the desired illuminance in lux at the working surface, or define a practical brightness level for the space. | Lux measures light reaching a surface; lumens measure total light output. A lighting plan should account for mounting height, spacing, and beam distribution. | Check whether trees, walls, signs, or other obstructions will create shadows or block the beam. |
| 3 | Operating hours | Set nightly operating hours and decide whether the light should remain on continuously or use motion sensing or dimming. | Longer operating periods require more stored energy. Confirm how the product’s stated runtime was tested and under what brightness setting. | Consider seasonal night length and local usage patterns when estimating daily energy needs. |
| 4 | Sunlight availability | Assess direct sunlight at the proposed solar-panel location throughout the year. | Shade from buildings, trees, or rooftop structures can reduce charging. Panel orientation and tilt should suit the site and local solar conditions. | Inspect the location at different times of day; avoid placing the panel where shade falls across it for extended periods. |
| 5 | Weather and climate | Record typical temperature range, rainfall, humidity, dust, snow, and exposure to coastal or corrosive conditions. | Check the product’s stated operating-temperature range and ingress-protection rating. An IP rating describes protection against dust and water under specified test conditions. | Confirm drainage, exposure, and whether snow, standing water, or salt-laden air may affect the panel, fixture, or mounting hardware. |
| 6 | Battery autonomy | Decide how many low-sun or no-sun nights the light should be able to operate. | Compare battery capacity, usable energy, load, and runtime together. Capacity alone does not establish how long a light will operate. | Check whether the battery is replaceable and whether it can be accessed safely for inspection or servicing. |
| 7 | Mounting height and spacing | Measure pole or wall height, available mounting points, and the distance between fixtures. | Higher mounting can cover a broader area but may reduce illuminance at ground level. Use photometric data or a layout plan to estimate coverage. | Verify that the surface and fixings can support the fixture and withstand expected wind and vibration loads. |
| 8 | Solar-panel configuration | Choose between an integrated panel and a separate panel connected by a cable. | An integrated design can simplify installation; a separate panel can be positioned for better sun exposure when the light itself must be installed in shade. | For a separate panel, confirm cable length, routing protection, connector access, and a secure panel mounting location. |
| 9 | Controls and light distribution | Specify preferred color appearance, beam direction, motion-sensor coverage, dimming, and control schedule. | Correlated color temperature is measured in kelvins. Select optics and sensor settings that suit the site, and check for unwanted spill light. | Test sensor direction and detection area after mounting; adjust aiming to limit glare and activation from unrelated movement. |
| 10 | Service, compliance, and total cost | Review warranty terms, replacement parts, maintenance access, applicable local requirements, and expected service life. | Request test reports and clearly defined product specifications. Compare total ownership costs, including installation, cleaning, battery replacement, and repairs. | Confirm local rules for outdoor lighting, electrical or structural work, road-facing glare, and safe access for future maintenance. |
Related Posts
-
How to Choose Solar Powered Lights for Outdoor Use?
-
2026 Solar Lighting Solutions for Global Buyers How to Choose?
-
Top 10 Solar Panel Lights Outdoor: Brighten Your Space with Eco-Friendly Illumination
-
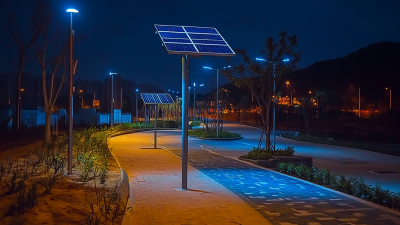
Top 10 Solar-Powered LED Light Manufacturers from China at the 137th Canton Fair
-
The Ultimate Guide to Choosing the Best Solar Hanging Lights for Global Buyers
-
Shining Worldwide Quality of Best Solar Hanging Lights from China Dominates the Global Market
